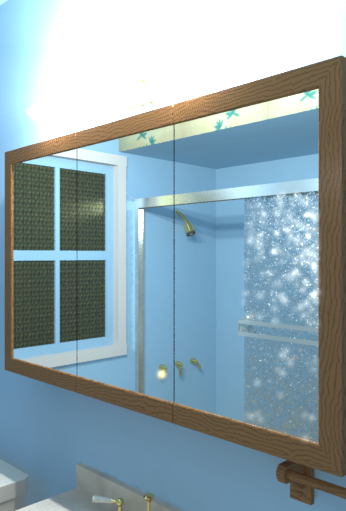
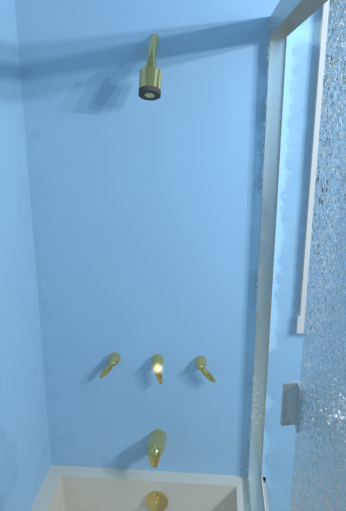
The Creston Bathroom Model was created by Greg Ward, the original author of Radiance as part of a bathroom renovation project. Different materials and paints were used to give the bathroom various appearances, but we will focus on an Arnold rendering task regarding the shower door used in that scene. Here are two different perspectives where you can see parts of the shower door, rendered in Radiance:
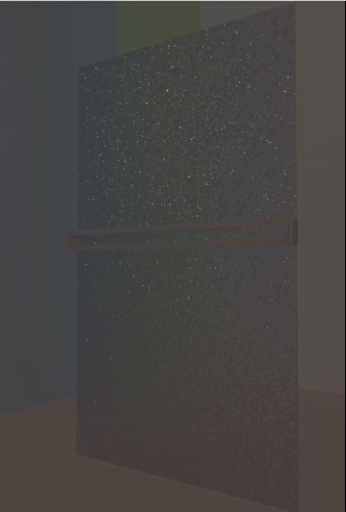
Let’s first isolate the door to render a simpler scene with Radiance. The lighting isn’t that great, but we can see how a simple polygon is used to reflect light from a spherical light source as well as scattering the colors of geometry from behind the door:
Here is the part of the Radiance file which describes the polygon and the material being used:
...
void texfunc shdoor_texture
4 .5*noise3a(5*Px,5*Py,5*Pz) .5*noise3b(5*Px,5*Py,5*Pz)
	.5*noise3c(5*Px,5*Py,5*Pz) .
0
0

shdoor_texture glass shdoor_mat
0
0
3 .9 .9 .9
...
shdoor_mat polygon door
0
0
12
	0	0	.2
	0	0	56
	0	33	56
	0	33	.2
...
This noise functions can actually easily be translated into an Arnold shader. I will not show the source code for the shader here, but the output of kick -info rad_noiseABC:
% kick -info rad_noiseABC
node:         rad_noiseABC
type:         shader
output:       VECTOR
parameters:   7
filename:     ./rad_noiseABC.so
version:      4.2.0.6

Type          Name                              Default
------------  --------------------------------  --------------------------------
FLOAT         magnitudeA                        1
FLOAT         magnitudeB                        1
FLOAT         magnitudeC                        1
BOOL          use_Pref_matrix                   true
VECTOR        scale                             1, 1, 1
POINT         rotation                          0, 0, 0
STRING        name
For all the Radiance patterns we have seen so far, we always modified an input color and used the standard shader for the actual material definition and rendering. So, instead of returning RGB values, we return a VECTOR, which can be used for displacements.
...
polymesh
{
 name MEshower_door
...
 subdiv_type "catclark"
 subdiv_iterations 4
 disp_map "MAshdoor_disp"
 disp_padding 0.0125
 shader "MAshdoor_mat"
 opaque off
}

rad_noiseABC
{
 name MAshdoor_disp
 magnitudeA 0.00127 # 0.05 * 0.0254 (inch to meters)
 magnitudeB 0.00127 # 0.05 * 0.0254 (inch to meters)
 magnitudeC 0.00127 # 0.05 * 0.0254 (inch to meters)
 use_Pref_matrix false
 scale 0.127 0.127 0.127 # 5 * 0.0254 (inch to meters)
 rotation 0 0 0
}

standard
{
 name MAshdoor_mat
 Kd 0
 Kd_color 0.899999976 0.899999976 0.899999976
 Ks 0
 Ks_color 1 1 1
 specular_roughness 0.5
 Kr 0.0799999982
 Kr_color 1 1 1
 Kt 0.920000017
 Kt_color 1 1 1
 IOR 1.51999998
}
...
From the partial .ass file (Arnold’s scene description) above you can see how a polymesh can be converted into a Catmull–Clark subdivision surface, by simply adding values for subdiv_type and subdiv_iterations. So, let’s see how the number of polygons created by the subdivison scheme will influence the rendering of the displacement:
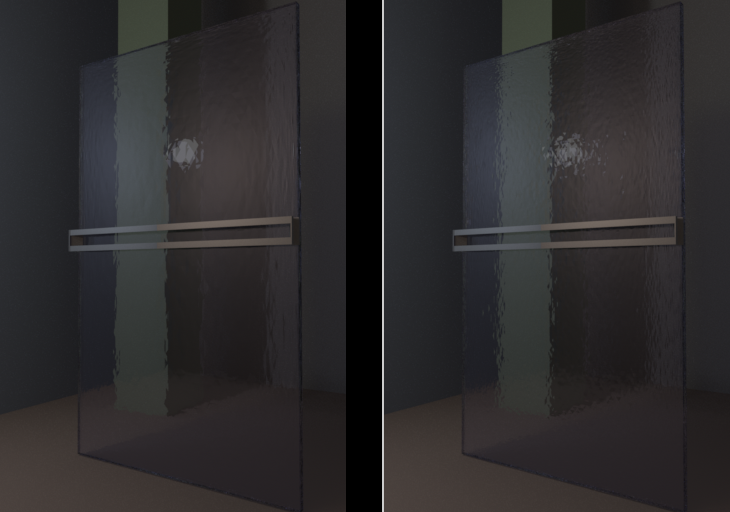
You can see how the polygon count influences the resulting displacement, even though it’s exactly the same shader with the same parameters. This behaviour of Arnold is very different from the Radiance renderer, so let’s increase the number of polygons even more:
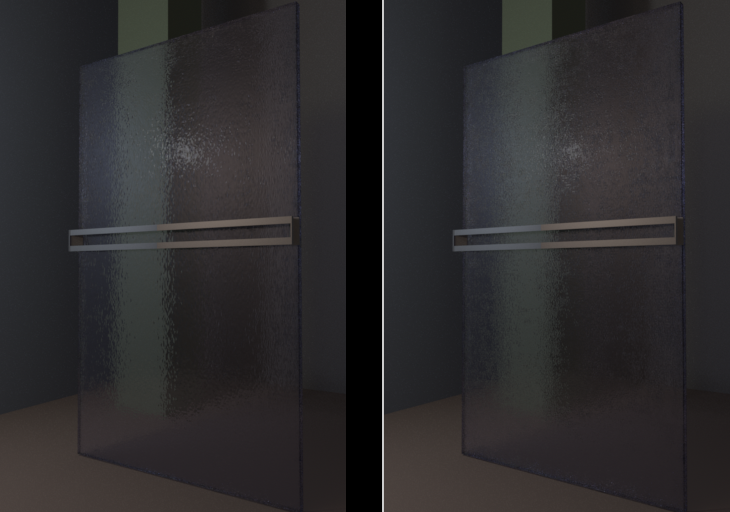
I’m not showing the resulting polygons here (from the Catmull–Clark subdivision scheme), but I figured out that I get the best results for this noise based displacement shader, if I have a evenly distributed numer of polygons with approximately the same size. This can be seen best within Blender, by applying a subdivison modifier:
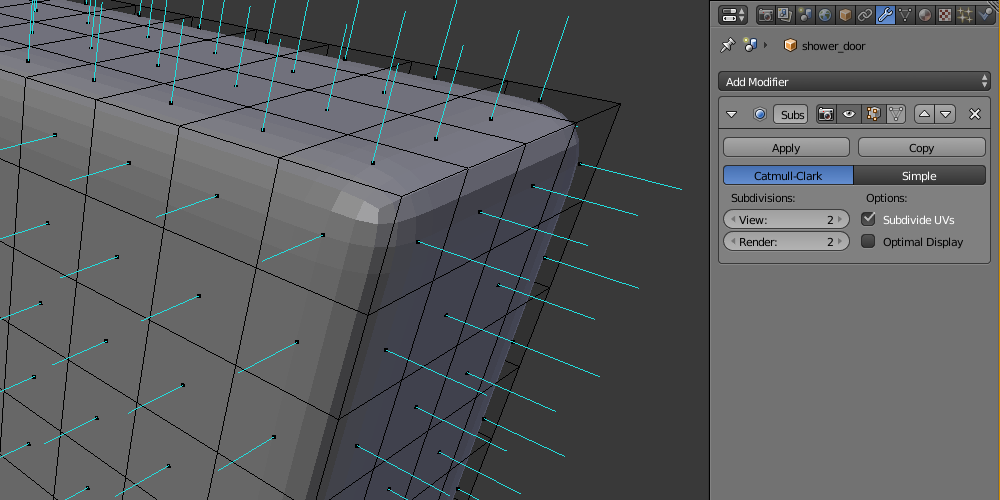
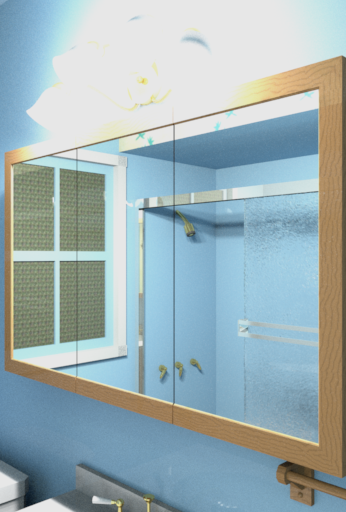
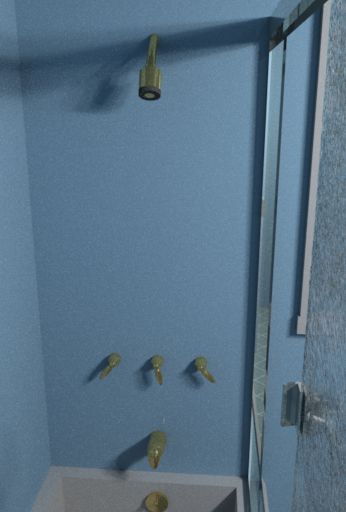
Don’t forget to remove the subdivison modifier before exporting because the subdivison steps should be done by Arnold, the renderer, not by Blender. But you can get a feeling for the distribution and amount of polygons by using temporarily a modifier before exporting the control mesh. Here the results of the displacement shader rendered by Arnold:
As usual the scene files are available in a repository.
